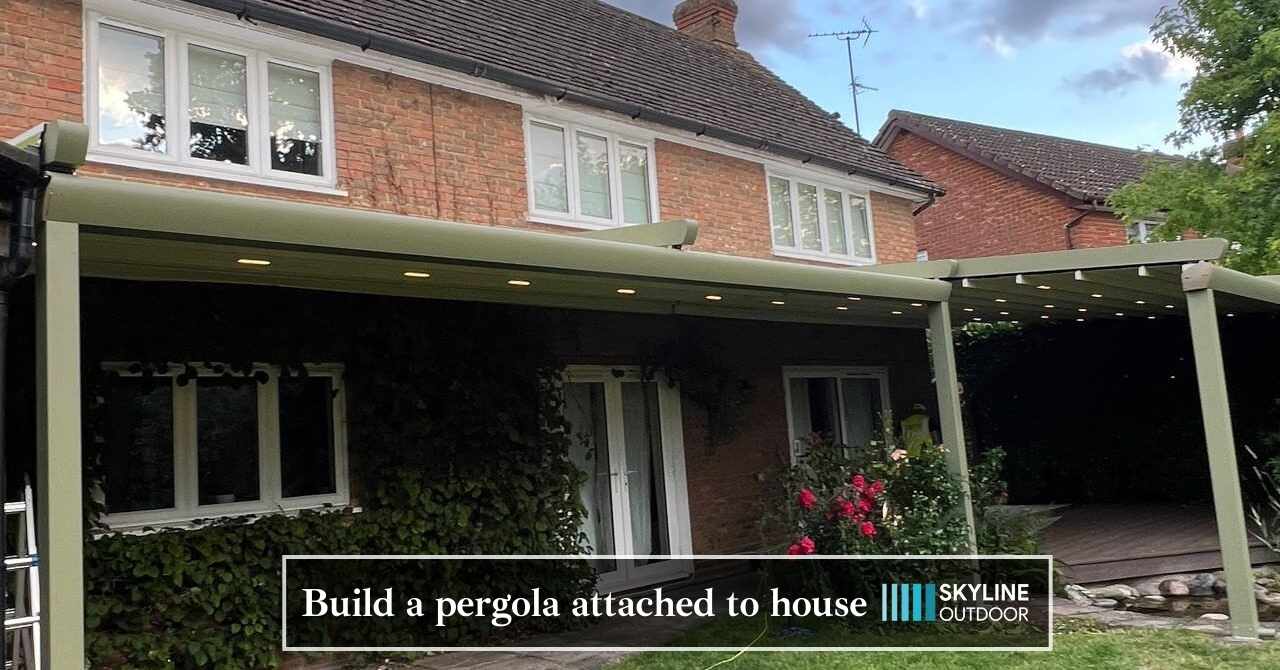
We will consider a semi-open patio pergola for this guide to make it more practically understandable.
In order to create a semi-open patio canopy, you can construct a pergola or an arbor. The beams of the roof are made of two-by-eights, and on one side, they are supported by four-by-four posts. On the other side, they are attached to your house.
This design makes use of three layers of interlocking roof beams, yet ensures that the roof is exposed to the sky and breeze in order to provide the most advantageous combination of patio, porch, and deck elements.
1st Step
On the house, make a note of the elevation and width of the pergola.
Mark two lines that are perpendicular to the patio from the soffits of your home. These lines should be spaced at the same width as the concrete pad that is on the patio. This will allow you to determine the appropriate elevation of the pergola. Take advantage of a bar level to guarantee that the lines are vertical.
2nd Step
The first layer of the roof requires three beams to be cut and notched.
Cut three beams of two by eight inch size for the first tier that runs parallel to your house. Jigsaw them to support four of six beams in the second layer. The two remaining beams will be butted against the ends the beams of the first layer.
3rd Step
The pre-drilling and Before attaching the pergola ledger to the house, make sure that the ledger is level and that holes have been pre-drilled for lag screws to be inserted through the ledger and fascia board into the side of the house. Through the use of a ratchet, tighten the lag screws.
4th Step
Use expansion anchors and drill holes into the patio floor to secure brackets to the posts, using a hammer to mark each one on concrete and mark their centers with chalk. Drill a hole in each mark and then insert the anchor into the bracket. To tighten the expansion anchor, use a ratchet.
5th Step
Use heavy-gauge nails to attach the posts to the brackets and the post supports.
The posts should be raised above the concrete and dampness by installing post supports in the brackets. This will prevent the posts from decaying. The posts should be held in a vertical posture, and then each one should be secured to its bracket using a hammer and galvanized nails of a considerable gauge.
6th Step
Hold the posts vertical with temporary stakes and braces.
During the next stages of the project, you will need to secure pairs of temporary braces to stakes in the ground and then clamp the braces to the posts in order to maintain their upright position in both directions. Determine whether or not the posts are plumb by using a bar level.
7th Step
Attach the end beams of the first layer to the posts.
Align and clamp the end beams with notches that are part the first layer to ensure the posts are the correct height. Pre-drill the material with a countersunk drill bit. To drive stainless steel screws into beams and posts, you will need to use a square-ended drill bit.
8th Step
Cut and curve each end of the second-layer beams.
The beams should be cut and the end of one should have a decorative curvature. Their length will exceed the depth of the patio, and they will run in a direction that is perpendicular to the house. Make notches on the bottom edges so that they can be interlocked with the notches on the beams of the first layer.
9th Step
Connect the beams of Layer Two to the beams of Layer. All Beams and Posts Should Be Trimmed.
Make eight notches in the beams of the second layer so that there are eight beams in the final layer, and then interlock those beams with the beams of the first layer. Using a Japanese handsaw, trim the tops of the posts so that they are flush with the tops of the beams.
10th Step
Make notches in eight third-layer beams so that they can interlock with other beams.
When you are working on the third and final layer, cut eight beams with both ends curled. To interlock the notch on the second layer cut six slightly shallower cuts along the bottom margins. Put them together by tapping with a mallet.
Conclusion
As with any building project, constructing a pergola begins by measuring its dimensions. By doing so, this step can ensure you assemble a beautiful yet sturdy pergola.
Beams and posts must be accurately cut and aligned in order to construct an elegant pergola structure that will serve both style and functionality for many years. Once complete, your pergola will become an impressive focal point in any outdoor area while adding both style and function to it.
To take care of your worries about setting up a pergola, Skyline Outdoor can fix it up for you! It will be less hassle for you and it will definitely be a lot better than your expectations. Our professional members are skilled at making pergolas that fit your outdoor space and beautify it. Contact us today and get your pergola built tomorrow!

